Lab S05 — AirSim & Drone Data Integration with Splunk
Set up Unreal Engine and AirSim, write Python drone control scripts, collect UAV telemetry, and analyze it in Splunk with the Machine Learning Toolkit.
Prerequisites
Complete Lab S00 before starting this lab.
A Windows device is recommended but not strictly required for this lab.
AirSim requires a capable GPU for smooth simulation. Ensure your system meets the minimum graphics requirements before proceeding.
Introduction
Unreal Engine is a game development engine created in 1998. It has become one of the most widely used game engines and is now used for simulations, film, and AI research beyond gaming.
AirSim is a virtual training environment created by Microsoft in 2017 to test AI research for autonomous vehicles. It runs as a plugin inside Unreal Engine and simulates multirotor drones and cars with realistic physics. This lab uses the CityEnviron simulation.
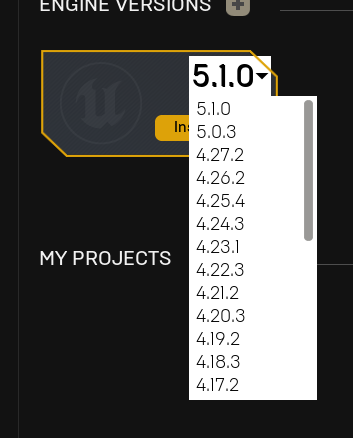
- Part A: Install Epic Games Launcher, Unreal Engine 4.27.2, and AirSim CityEnviron
- Part B: Set up Visual Studio Code, Python, and the drone control scripts
- Part C: Collect flight telemetry and analyze it in Splunk MLTK
Part A — Unreal Engine & AirSim Setup
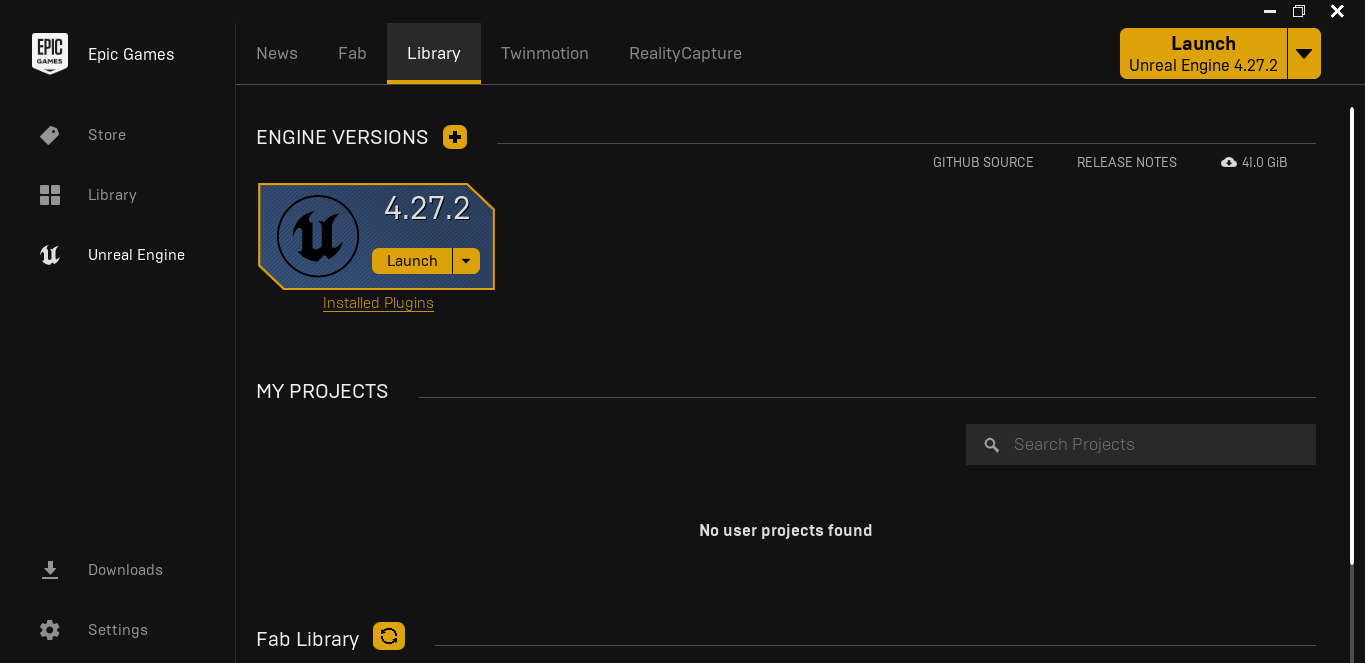
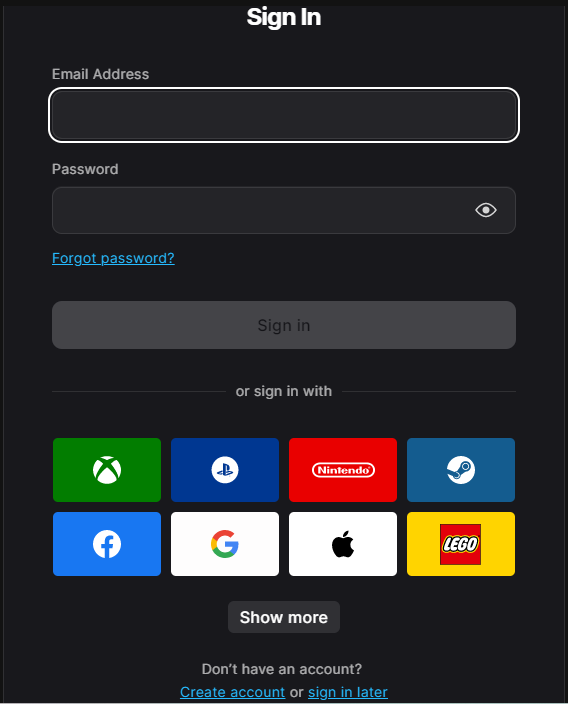
Install Epic Games Launcher from https://www.unrealengine.com. Download the .msi and install. Create or log into an Epic Games account.

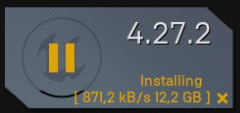
In the Epic Games Launcher navigate to . Install version 4.27.2 specifically.
Download AirSim CityEnviron — navigate to the AirSim GitHub releases page. Download both CityEnviron.zip.001 and CityEnviron.zip.002 one at a time (downloading simultaneously may cause errors).
Combine the split archives using 7-Zip (install from https://7-zip.org if needed). Highlight both files, right-click → Show More Options → 7-Zip → Extract Here.
Navigate into CityEnviron → WindowsNoEditor and launch CityEnviron.exe. When prompted select Quadrotor as the vehicle.
Part B — Python & VS Code Setup
Install Visual Studio Code from https://code.visualstudio.com. Install the Python extension from the Extensions marketplace.
Create a new project folder in VS Code. To set up a Python virtual environment, open the Command Palette (Ctrl+Shift+P), select Python: Create Environment, choose Venv, then select your Python interpreter. VS Code will create and activate the environment automatically. Alternatively, select the interpreter from the bottom-right status bar.
Install dependencies:
Configure AirSim settings. Navigate to Documents\AirSim\settings.json and set SimMode to "Multirotor".

Overview of the drone data script:
- get_drone_data() — collects telemetry (position, velocity, GPS, battery state)
- save_data_to_json() — writes data as JSON for Splunk ingestion
- fly() — controls drone movement
The data() and fly() functions run concurrently via Python threading.
Part C — Data Collection & Splunk MLTK Analysis
In Splunk, install the Machine Learning Toolkit (MLTK) from . Create a new index for drone data.
Set up an HTTP Event Collector (HEC) under . Set sourcetype to _json. Note your token value.
Configure the data script — set your Splunk URL, HEC token, and index name in the drone_dat3.py file.
Launch CityEnviron (select Quadrotor). In VS Code run navigate2.py to take off, then run drone_dat3.py to start collecting telemetry. Fly for 1–2 hours at ~12 m/s at lamppost height to accumulate ~20,000 packets for meaningful MLTK analysis.

In Splunk MLTK go to Search and run altitude analysis with anomaly detection:
And velocity (including all three axes) with anomaly detection:
MLTK uses these to establish a baseline of normal behavior and flag anomalous readings.