Lab S04 — Splunk Attack Data & Postfix MTA
Ingest Atomic Red Team attack datasets into Splunk, perform detection analysis, then build a Postfix mail server for Splunk alert delivery.
Prerequisites
Complete Lab S00 before starting this lab. You will need a working Splunk Enterprise instance on Ubuntu 22.04.
This lab was tested using an Ubuntu 22.04 Virtual Machine in Synology VMM.
Introduction
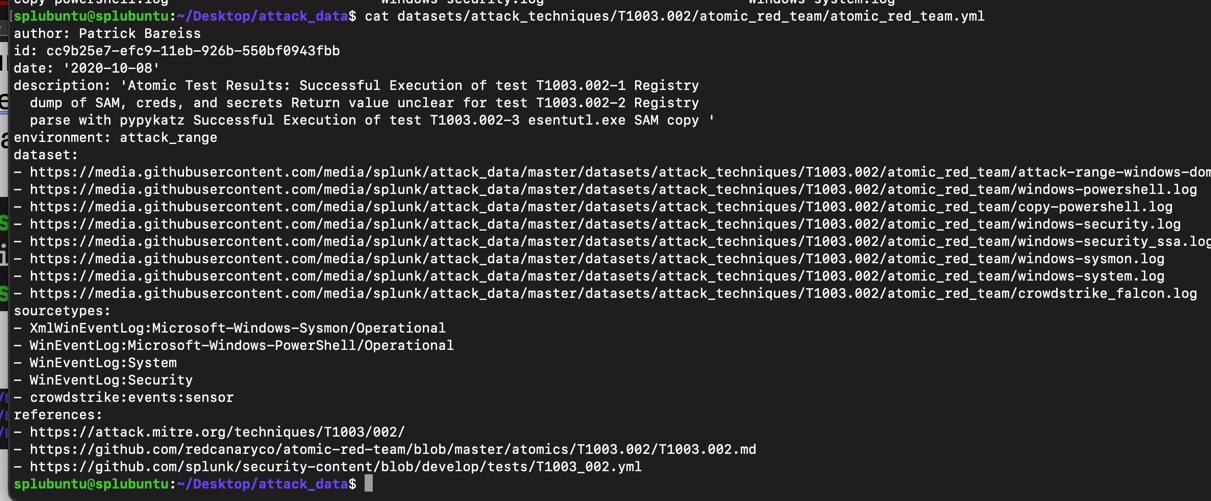
This lab uses Atomic Red Team (ART), an open-source testing framework, to ingest simulated attack datasets into Splunk. The attack data is sourced from the Splunk attack_data GitHub repository: https://github.com/splunk/attack_data. We focus on T1003.002 — a SAM database credential dump technique.
Build a Postfix Mail Transfer Agent on Ubuntu to receive Splunk alert emails. Covers SMTP, TLS certificates, SASL authentication with Dovecot, and creating alert rules in Splunk.
Part A — Setup & Download Attack Data
Create a new index called test under .
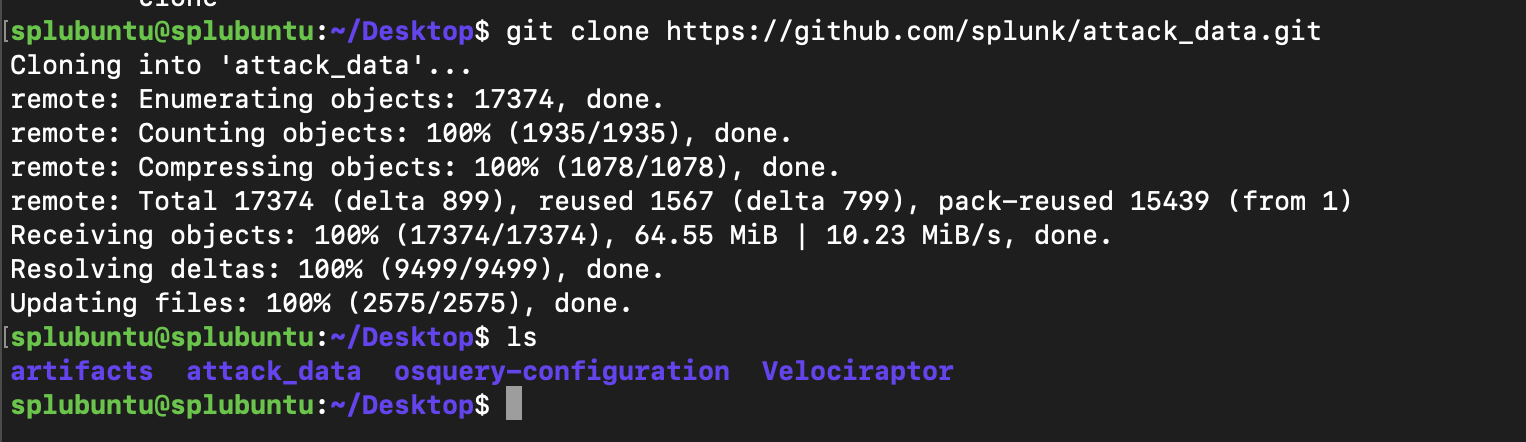
Clone the attack_data repo with git LFS (--skip-smudge to avoid downloading all 10 GB):
--skip-smudge skips automatic downloading of large files on clone — requires manual git lfs pull per commit.Edit the replay config:
Remove all but Sysmon logs, set your Splunk admin credentials and change the index from main to test.
Set up a Python virtualenv and run the replay:
Execute the replay script. Search the index for all time since these events were collected historically.
Part A — Detection & Analysis
Search for PowerShell execution — the T1003.002 dataset involves pypykatz credential dumping:

Identify encoded command lines. Encoded PowerShell commands (-encodedcommand) hide malicious intent. Use https://www.base64decode.org to decode captured Base64 commands.
Find child processes of suspicious parent processes:
Detect LSASS access (Event ID 10 — ProcessAccess):
LSASS stores credentials in memory — a common attack target. Esentutl may be used to create volume shadow copies of the SAM database.

Check for file deletion covering tracks:
Look for deletion of sam, system, and security from the %temp% folder.

Investigate DNS exfiltration:
Look for T1071.004 DNS beacon/domain-length scripts.
Part B — Postfix MTA Setup
Set a fully qualified domain name. Edit /etc/hosts and /etc/hostname to set your hostname (e.g., splubuntu.lan). Verify with dnsdomainname.
Open port 25 and install Postfix:
During install select Internet Site and enter your mail domain (e.g., splubuntu.lan).
Create a user for incoming mail and set up mailboxes for both the system user and the incoming account:
Test basic mail delivery via telnet:
Set the home mailbox path then enable SMTP-AUTH using Dovecot SASL:
Generate TLS certificates and install them:
Set up a local Certificate Authority (CA) directory structure to track serial numbers and issued certificates:
Edit the [ CA_default ] section of /etc/ssl/openssl.cnf:
Set the following values in the [ CA_default ] block:
Create the self-signed root CA certificate. You will be prompted for a passphrase — remember it, you will need it when signing the server cert:
Install the CA root certificate and private key:
Sign the server certificate with the CA (use the passphrase from above when prompted). Enter y twice — once to sign and once to commit:
The CA-signed certificate is saved at /etc/ssl/newcerts/01.pem.
Configure TLS in Postfix:
Install Dovecot. Edit /etc/dovecot/conf.d/10-master.conf and add the following block inside service auth { }:
In /etc/dovecot/conf.d/10-auth.conf set auth_mechanisms = plain login. Then in /etc/postfix/main.cf change smtpd_sasl_security_options to noanonymous (removes noplaintext — required for Splunk's plain login). Restart both services:
journalctl -xeu postfix.service for debugging.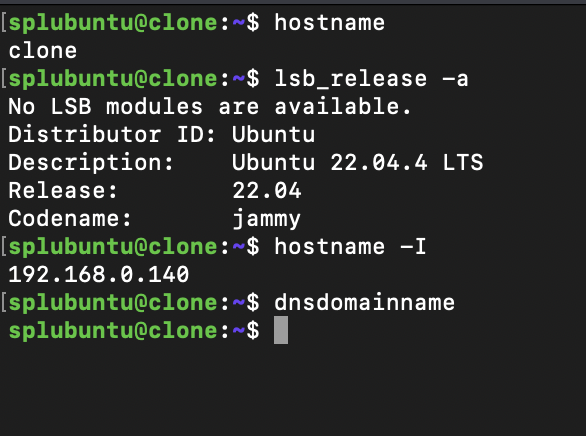
Part B — Splunk Alerts via Email
In Splunk , configure the SMTP host with your splubuntu.lan hostname, username, and password.
Create alert queries for the attack patterns found in Part A:
Save the volume shadow copy query as a Splunk Alert. Set it to run on a schedule (cron: every minute for testing) on All Time.

When the alert fires, check the mailbox of the incoming user:
You should receive the triggered alert email.