Lab S06 — PX4, MAVLink & AirSim SITL to Splunk
Set up WSL2 with PX4 firmware, configure AirSim for Software-In-The-Loop simulation, connect via MAVSDK, and stream drone telemetry to Splunk.
Download Lab DocumentPrerequisites
Complete Lab S05 before starting this lab. AirSim and Unreal Engine must already be set up and working.
Windows 10 with Hyper-V enabled is required for WSL2 bridged networking. Verify Hyper-V is enabled in Windows Features before proceeding.
Introduction
This lab sets up a Software-In-The-Loop (SITL) simulation pipeline. PX4 open-source flight firmware runs in WSL2 Ubuntu, AirSim provides the physics simulation in Unreal Engine, and MAVSDK serves as the Python API interface via MAVLink protocol. Telemetry data is streamed to Splunk Enterprise.
- PX4: Complete open-source flight control system. Primarily for real hardware but also supports SITL via simulation.
- MAVLink: Lightweight messaging protocol for UAVs. Uses a hybrid publish-subscribe and point-to-point model.
- MAVSDK: Python API and server for communicating with PX4 flight controllers over MAVLink.
- AirSim: Microsoft's open-source simulation environment running as an Unreal Engine plugin.
WSL2 Setup & Bridged Networking
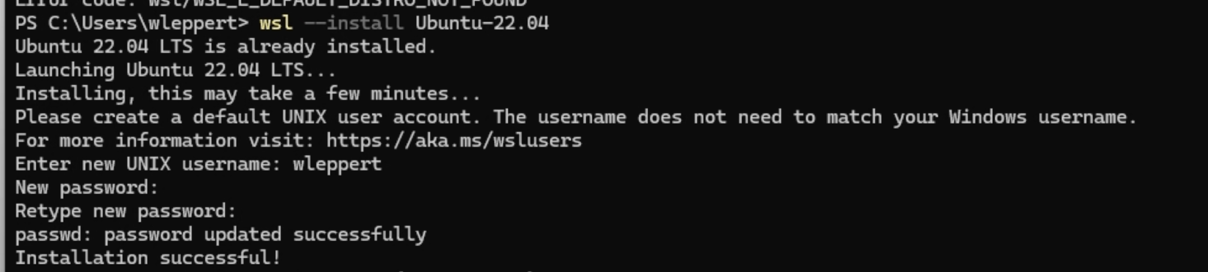
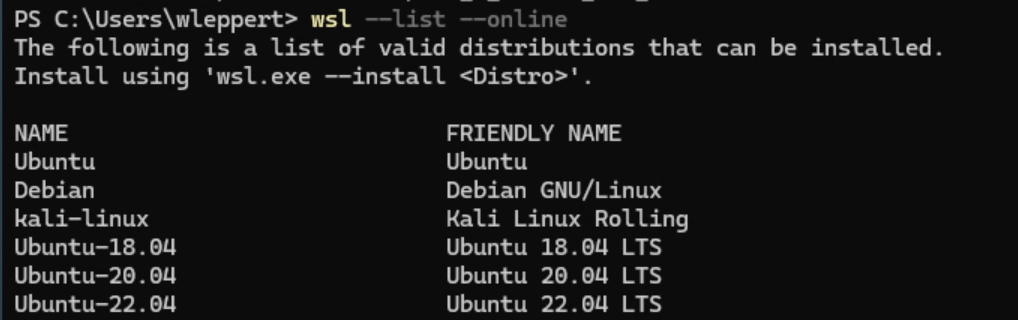
Install WSL2 Ubuntu 22.04. Open PowerShell and run the following commands:
After installation, check your IP inside WSL2 with ip a — note it will be on a NAT network by default.
Enable WSL in Windows Optional Features if not already enabled. Go to and ensure Windows Subsystem for Linux is checked.
Create a bridged virtual switch in Hyper-V Manager so WSL2 shares the same network as the host:
- Open Hyper-V Manager → Virtual Switch Manager
- Create a new External virtual switch named
WSL_Bridge - Connect it to your active network interface
- Leave "Allow management OS to share the network adapter" checked
Configure WSL to use the bridge. Open Notepad and create C:\Users\YourUser\.wslconfig with the following content:
Restart WSL with wsl --shutdown then wsl. Verify the IP updated to your local network range.
Set the PX4_SIM_HOST_ADDR environment variable in WSL2 to your Windows host IP so PX4 can reach AirSim:
PX4 Clone, Build & AirSim Configuration
In WSL2 Ubuntu, clone the PX4 repository and run the setup script:
--no-nuttx skips the RTOS (not needed for SITL). --no-sim-tools skips default sim tools since AirSim handles simulation.
Build and start the SITL firmware:
If prompted about missing dependencies, type u to update them automatically.

Configure AirSim to accept PX4 MAVLink control. Navigate to Documents\AirSim\settings.json and replace the contents with the PX4Multirotor config:
Replace YOUR_HOST_IP with your Windows host machine IP address.

Launch CityEnviron and select PX4 Multirotor, then start PX4 SITL in WSL2. The simulation should connect automatically.
Inside the running PX4 terminal, type mavlink status to confirm the MAVLink channel and note the UDP port (typically 18570). You will need this port for the MAVSDK server command.
MAVSDK Python & Splunk Integration
Download the MAVSDK server binary for Windows from github.com/mavlink/MAVSDK/releases — look for mavsdk-windows-x64-release.zip. Extract it and run the server from a Windows terminal, pointing it at your WSL2 IP:
Then install the MAVSDK Python package in a Windows virtual environment (not WSL2):
Use the mav_nav.py script to control flight and mav_data.py to collect and forward telemetry to Splunk HEC. Configure your Splunk URL and HEC token in mav_data.py.
Create a Splunk index for MAVLink data and set up an HTTP Event Collector via .
Run both scripts and verify data arriving in Splunk using the index name you configured in your HEC setup: